Start with Inkscape
Custom Colors
When the palette does not contain the color you would like to use, you select a color in the Fill and Stroke dialog. We will now take a closer look at that dialog.
At the top of the dialog, there are 3 different tabs: for the Fill, the Stroke paint, and the stroke style.
In the Fill and Stroke paint tab, you will find 5 different color selection modes: RGB (Red, Green, Blue), HSL (Hue, Saturation, Lightness), CMYK (Cyan, Magenta, Yellow, Key/Black), Wheel (Colorwheel) and CMS (Color Management System). This book will not go into the details of the differences between these modes. You can select the one that you feel most at ease with. Per default, Inkscape's SVG files use the RGB color space. Except for the last one, the other options to select a color are all corresponding to that color space. For choosing a color for your first drawings, you can select any of the first four options.
To select your color, click or click-and-drag with the mouse in the different sliders (or the wheel). Always remember to first select your object! The result will immediately be displayed on the canvas. When you're happy with it, don't touch anything! Note the hexadecimal code below the color chooser, on the right side. The last two characters determine the alpha channel (just like the slider labeled A). The alpha channel is for transparency. The higher the value for alpha, the more opaque your color will be.
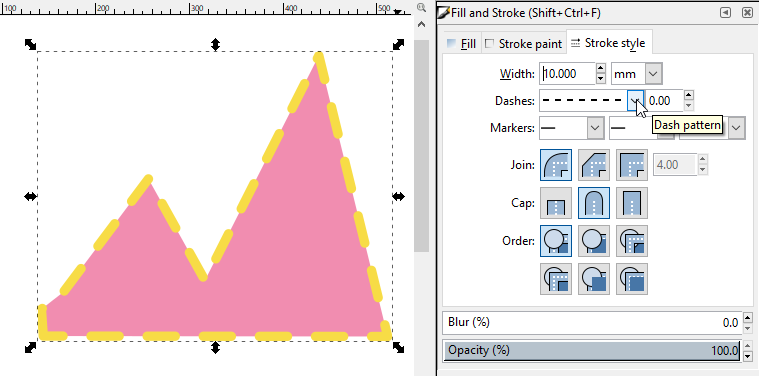
The mountain gets a dashed stroke.
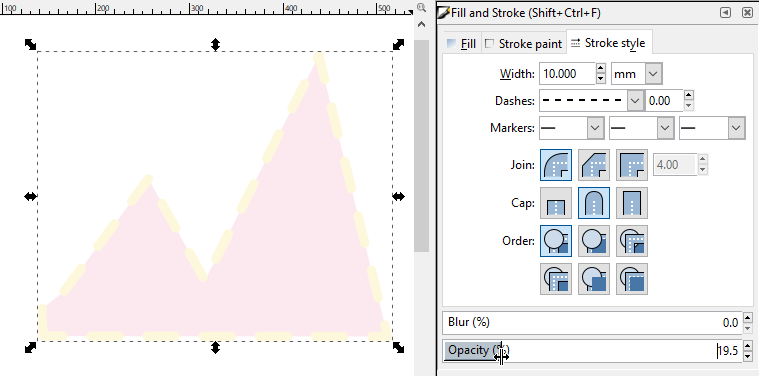
We change the opacity of the mountain object.
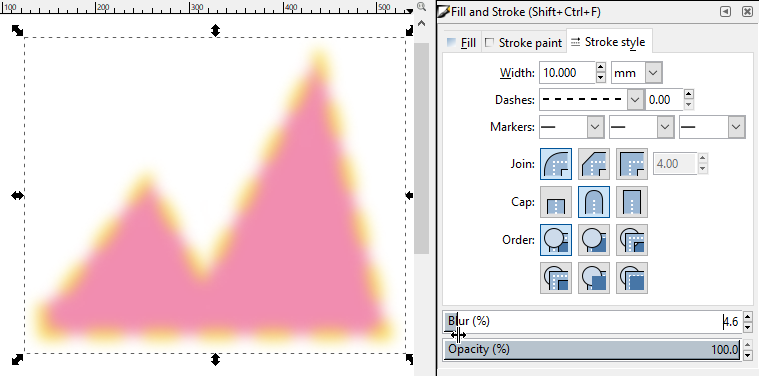
Opacity is back to 100%, but now the mountain is blurred.
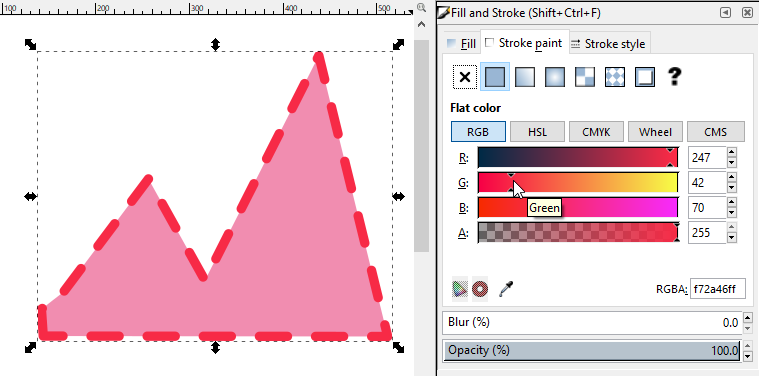
The blur was removed. Now we change the color of the stroke.
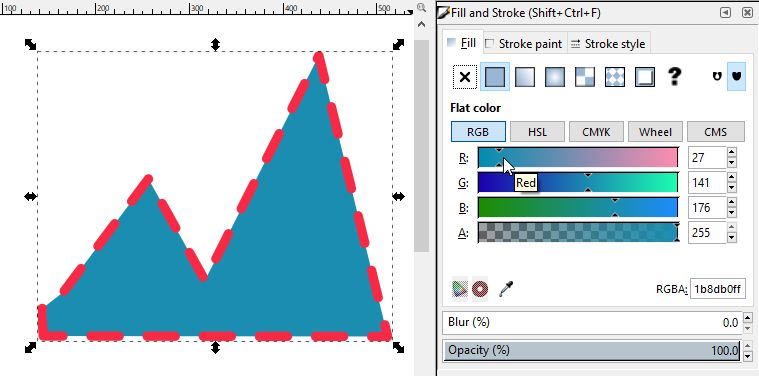
Now we also change the color of the fill.
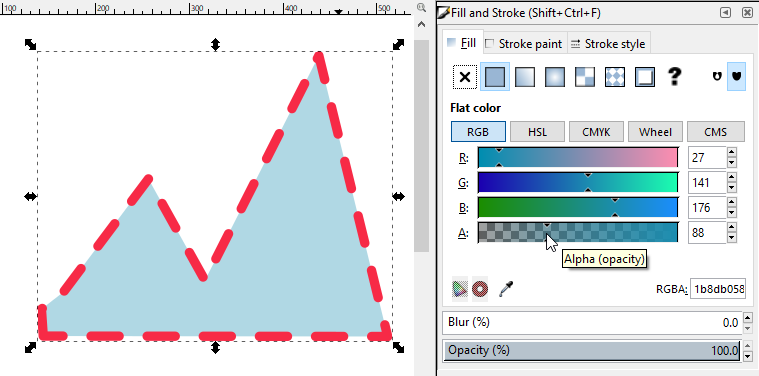
And lastly, we change the alpha value (opacity) of the fill color.