Introduction to Video Editing With ShotCut
Installing Shotcut
As noted in the previous chapter, one major virtue of Shotcut is how lightweight it is, as a download/install and as a running program. One consequence is that the installation process itself should be straightforward and brief.
From the shotcut.org home page, "Click to download" brings you to the download page, which offers numerous options for Windows, Mac OS and Linux operating sysems:
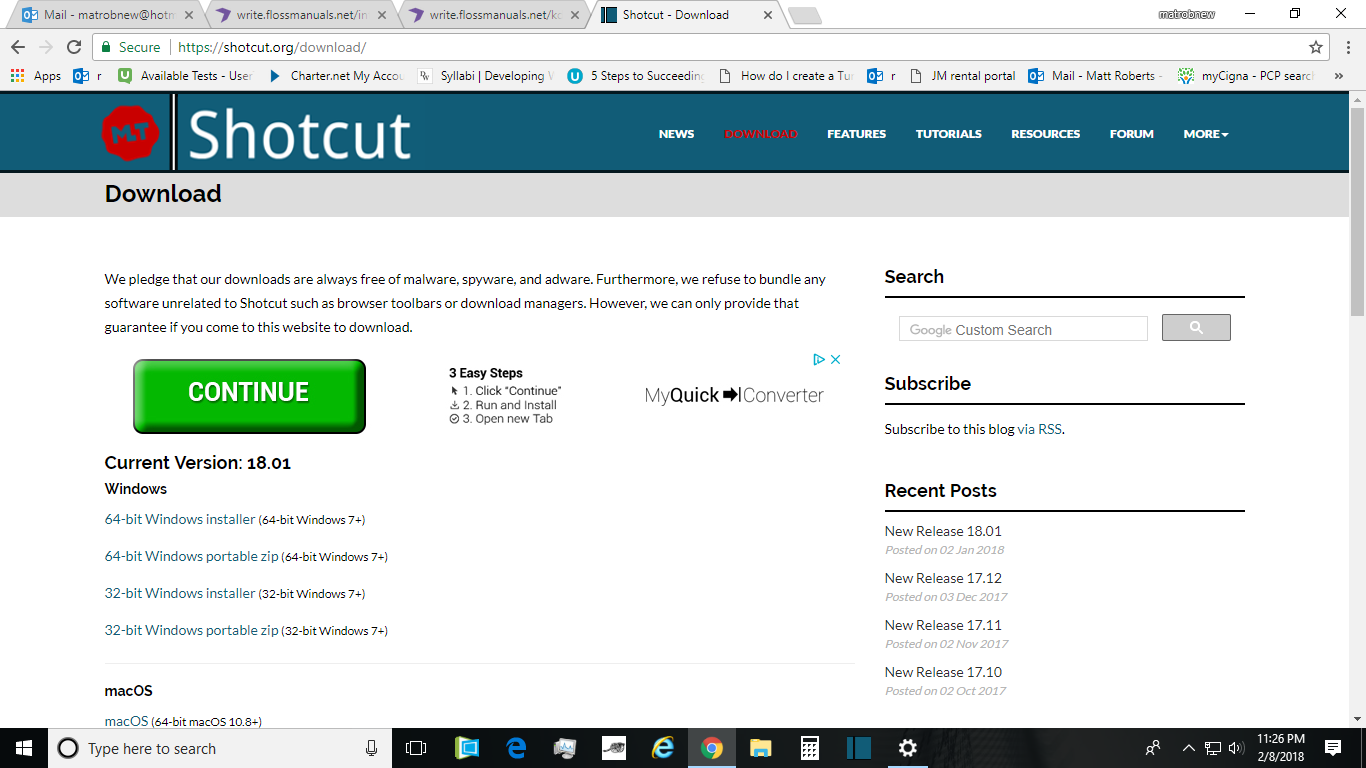
Please ignore the green "Continue" button, which will download a "MyQuickConverter" tool; this is an unrelated Google ad. Find your OS and version: mine is Windows 10, 64-bit. The option here is for Windows 7+, which should cover most Windows users (if you're still running Vista or something, it's probably time to upgrade).
Installing on Windows
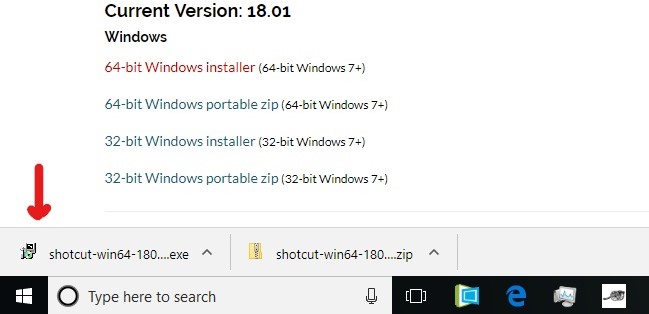
Within Windows 64-bit (as in 32-bit) you have the option of either using the Windows Installer version or downloading a portable zip of the install. The latter is a not-unreasonable option if you'd like the app to be portable, because the entire install is relatively small, only 256 Megs for the zip. But I only need it on one computer, so I will choose the Windows Installer option. This will download the install as an executable, which in Chrome will be visible (once the download has finished) at the bottom of the browser, like so:
Clicking on this exe will first prompt Windows (at least 8 and 10) to ask if you're willing to make changes to your machine, as it does with any new program install. The answer is yes. This will launch the familiar Windows Installer dialogue:
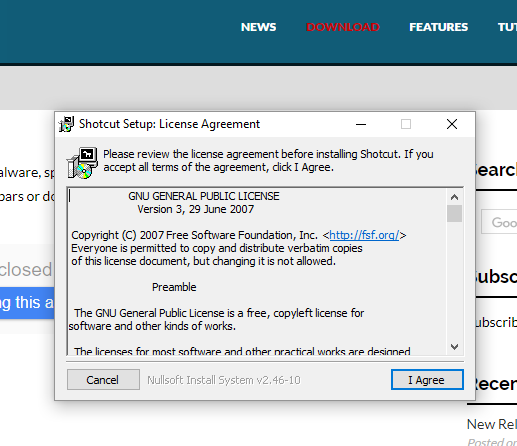
Read the License Agreement, if you're not familiar with the GNU open-source license, and then agree. Next, as usual, the installer will ask you where you want the program installed:
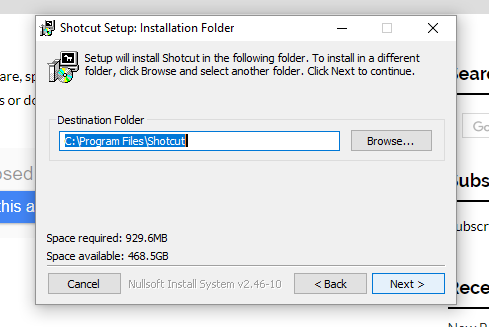
Unless you have good reason to put it elsewhere (like another drive), the default destination of C:\Program Files is generally a good idea since you and your computer will easily know where to find it subsequently. In any case, after you're satisfied with the install location, click Next. This will launch one final dialogue, with some options for the install:
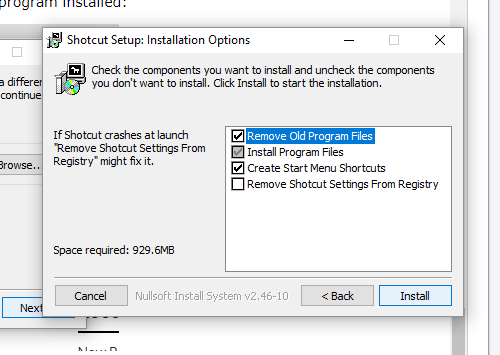
Since this happens to be a re-install in my case, even though I uninstalled the last version already it's a good idea to keep "Remove Old Program Files" selected. I have a cluttered Start Menu so I have unselected "Create Start Menu Shortcuts." When you've made your own selections, click Install to begin the actual installation process.
You will now see a progress bar with the installation progress. Again, this is not a particularly heavy install, especially for how full-featured the editor is. On a laptop with fairly modest memory and CPU, my install process took under three minutes. As they've suggested in the previous screen, if your install crashes, you might try again with "Remove Shotcut Settings from Registry" selected. When the installation is finished successfully, you'll be notified with a final dialogue:
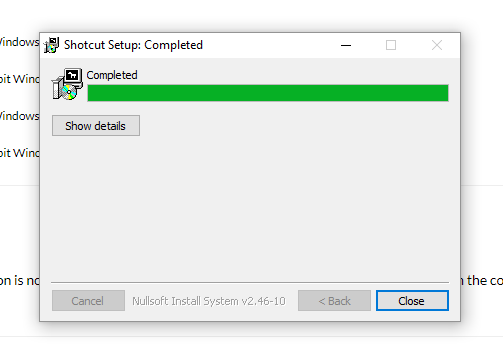
Clicking 'Close' will finalize the install process. You're ready to go! Shotcut has elected not to include the "Launch application" option at this point, so if you're ready to start checking out Shotcut now, you'll need to find it in your Start Menu, under "Recently Added" or the alphabetical listing of programs.
Installing on Mac OS
- In the download page of shotcut.org, scroll to where you can download Shotcut for the Mac.

- Move your mouse so that the cursor is over the link for downloading Shotcut.

- Following the instructions for MacOS users, control-click the link for downloading the Mac version of Shotcut, and highlight Download Linked File... or Download Linked File As...
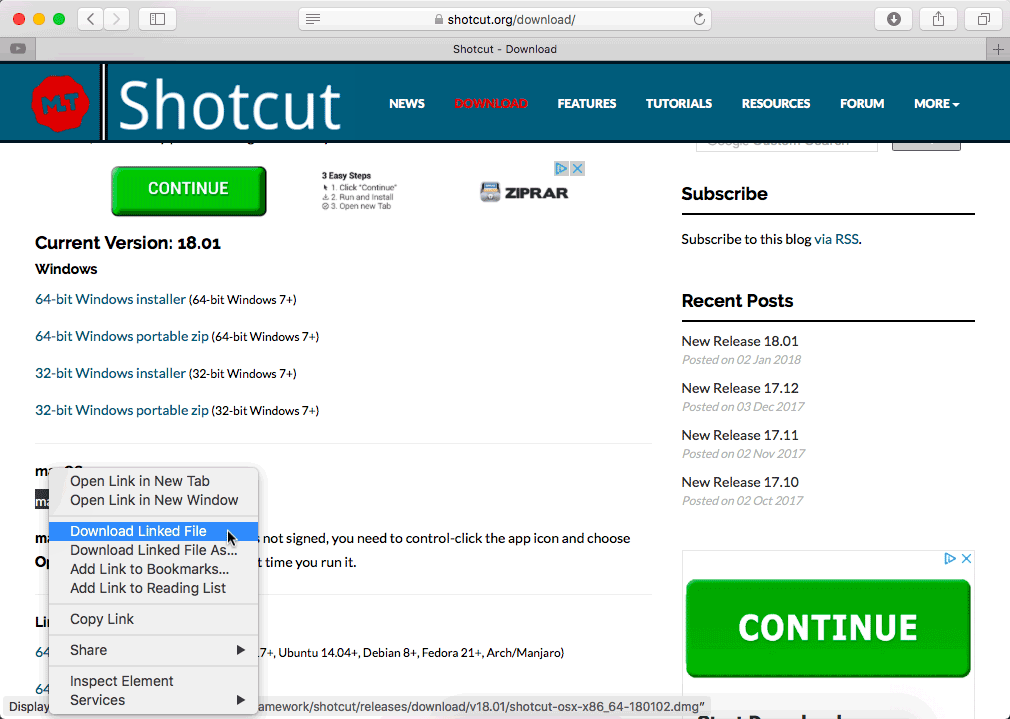
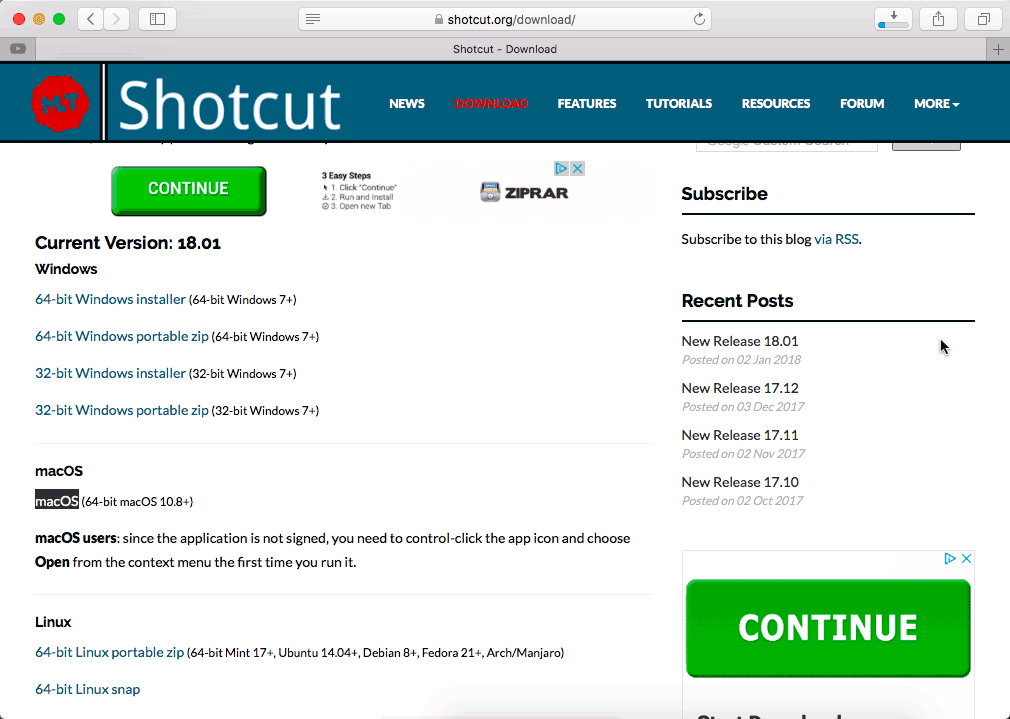
- Shotcut will now start to download.
-
Once Shotcut is fully downloaded, go to the folder your browser is set for files to be downloaded into — usually it's the Downloads folder (~/Users/nameofuser/Downloads).
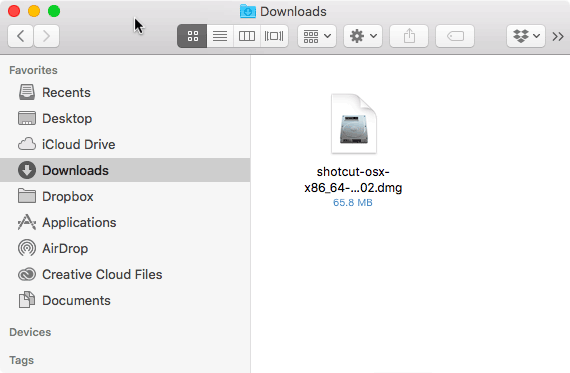
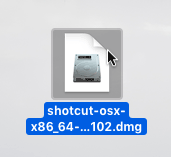
- Double-click the Shotcut .dmg file to open it.
- A new window with the Shotcut application will appear.
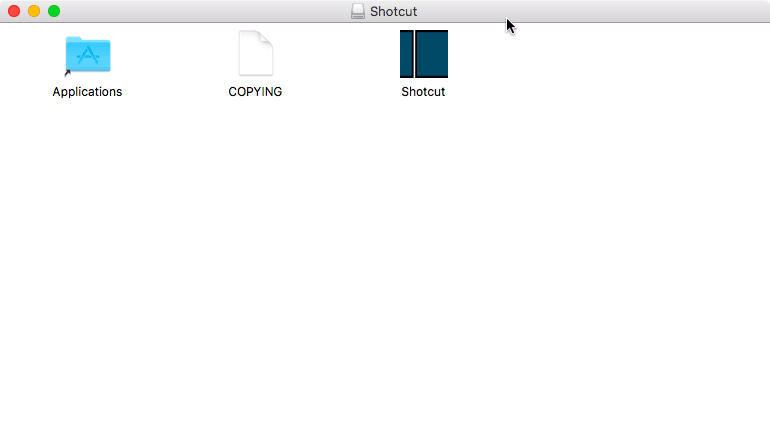
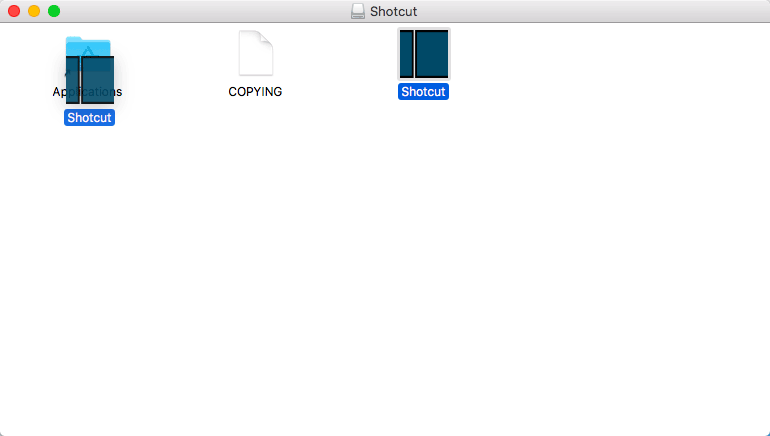
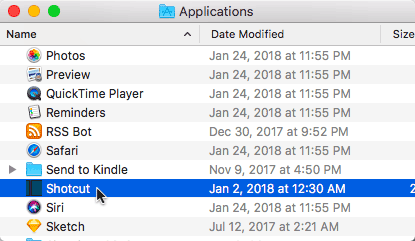
- In this window, click and drag the Shotcut application into the Applications folder (~/Users/nameofuser/Applications).
- Double-click Shotcut in the Applications folder (~/Users/nameofuser/Applications) to open it.
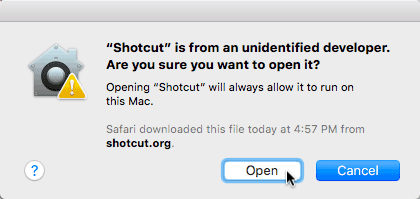
- A new window asking if you're sure you want to open Shotcut since it's from an unidentified developer may appear. If it does, click Open, then do the following.
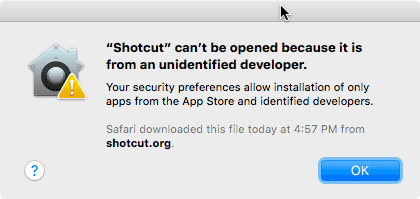
- Another new window saying that Shotcut can't be opened because it is from an unidentified developer will appear. Click OK.
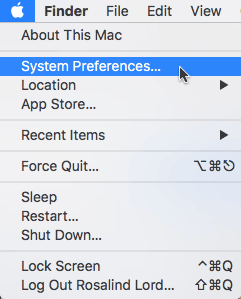
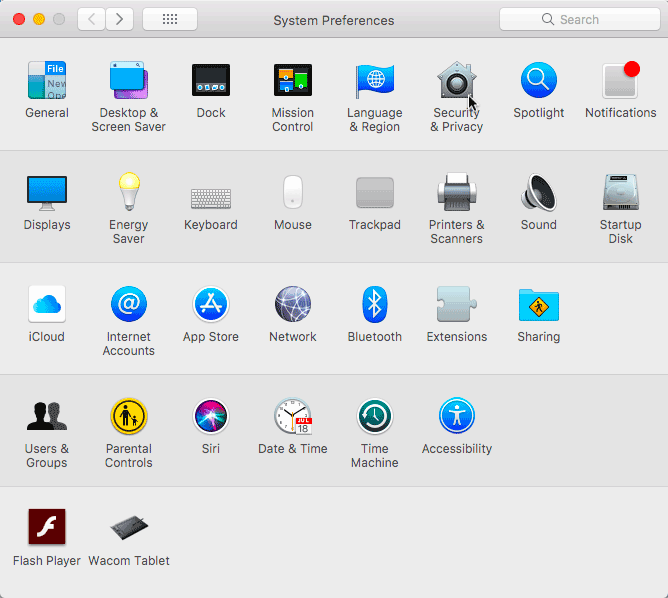
- Open your System Preferences by clicking the apple in the upper left-hand corner of the screen, then highlighting System Preferences...
- The System Preferences window will appear. Click the Security % Privacy icon.
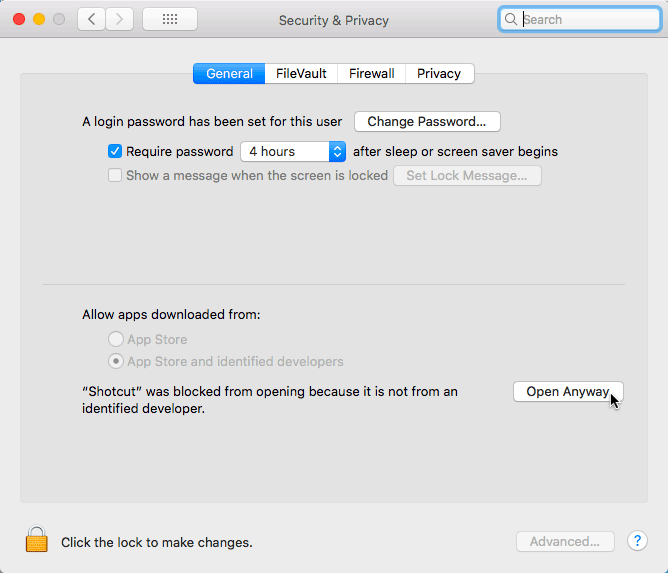
- The Security % Privacy preferences window will appear, saying near the bottom that Shotcut was blocked from opening since it was from an unidentified developer. Click Open Anyway.
- Another new window saying that Shotcut can't be opened because it is from an unidentified developer will appear. Click OK.
- Shotcut should now open. If it doesn't, trying opening Shotcut again. When it does open, its interface will look something like this.
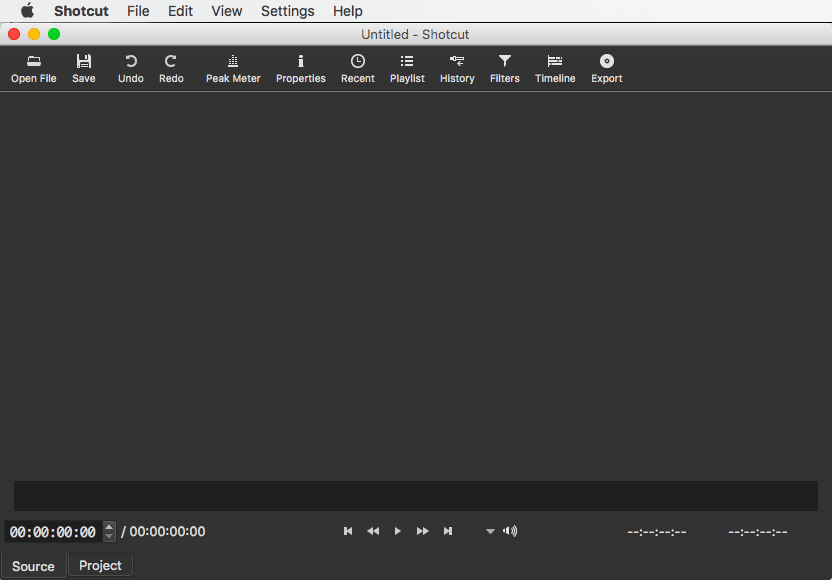
Congratulations. You are now ready to use Shotcut.