Video Making on Android
Offline distribution - mobile screenings
There is nothing so effective or rewarding as going offline with your videos and screening them to a live audience. Here are just some of the possibilities:
1. Short mobile reports you have made could be screened straight away with work by other citizen journalists working at the same event. If people from the event are present, a video screening can be very inspiring, and a tremendous promoter of unity and solidarity.
2. Send your films to all screening collectives, requesting that they screen them.
3. Organise your own screening, with your mobile videos mixed with longer, more documentary films. You could show a full-length main feature which would attract a crowd.
4. Organise a thematic screening of films on different aspects of the same subject. Invite speakers to talk about the issues.
5. Organise workshops on the skills in this manual, screening your films as examples.
Screening Technology
This chapter sorts through the bewildering range of technology available, so that you can make a more informed choice if you are buying a screening kit. It also tells you how to ensure your films can be seen on someone else’s projector, with a checklist of useful cables and adapters you should carry. Lastly, it gives advice on acquiring a portable screening kit of your own.
Projector power and cost
Video projectors or “beamers” span a vast range in terms of quality and cost.
The brightness of a projector’s beam is measured in lumens.
A full-size cinema projector may have a light output as much as 30,000 lumens, a “home cinema” projector will start at around 2000 lumens, whereas the smallest portable pico projector may put out only 10 lumens. Projectorpeople.com give a useful guide to how much power your projector will need1.
A projector capable of screening in a day-lit hall can cost over 1500 euros, whereas you could buy the cheapest plug-in pico for less than a hundred.
Image creation technologies
CRT - the old type with three cathode ray tubes which need to be tuned whenever the projector is moved. It is quite common to see these projectors in social centres or squatted spaces, where they have been rescued and recycled. The important point about this older technology is that the inputs will always be the traditional analogue ones, VGA and S-Video / RCA (see below).
The main modern image creation technologies are:
LCD - Liquid Crystal Display
DLP - Digital Light Processing. Most “home cinema” and portable pico projectors use DLP.
Projector-guide.com has details on the advantages and disadvantages of each of these technologies2.
Light sources
Lamp bulbs - their life can be as short as 2000 hours, and they are expensive to replace.
LED - use DLP or LCD projection technology, but have Light Emitting Diodes (LEDs) rather than lamp bulbs. LED projectors can have a lifespan of 25 years, and are cheaper and more environmentally friendly to run, often with rechargeable batteries.
Screen resolution
Most common projector resolutions
| Name
|
Resolution | Screen Ratio |
| SVGA | 800 x 600
|
4:3 |
| XGA | 1024 x 768
|
4:3 |
| 720p / HD
|
1280 x 720
|
16:9 |
| 1080p / Full HD
|
1920 x 1080
|
16:9 |
Following the recommendations of the Preparing to record chapter, we will if possible shoot HD or Full HD. It is therefore best to use a widescreen (16:9) projector for the best quality (a lower quality 4:3 projector will letterbox a 16:9 image, using only a portion of the available pixels).
Projector inputs
|
|
 VGA Socket
The standard video inputs on older projectors are analogue - VGA, S-Video and RCA (phono). More modern projectors take HDMI (a digital signal) and USB.
Screening in the field
Let’s imagine you have shot some videos of an event using the rapid-turnaround methods set out in the Templates for mobile video chapter. Now you have the chance to screen them straight away at the end of the day, using your own equipment or someone else’s. How do you make sure you can project your videos?
Using a conventional external projector
Often you need to contribute videos to a screening organized by someone else. The key to success when using other peoples’ equipment is to be ready technically for anything.
Below are 11 ways to make your data available for projection, either by transferring your video data to a laptop connected to the computer, or by using your own device as the video player connected to the projector.
Projector screening from laptop
If the projector is plugged into a laptop, there are a number of ways to transfer files (in order of preference):
1. If your device stores data on an SD card (Google Nexus devices do not):
a. Make sure your films are stored on your MicroSD card.
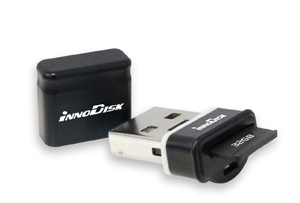
b. Take the card out of your phone or tablet. Slot the card into a MicroSD to USB adapter.
c. Plug the USB into the computer, and copy your films onto its hard drive for screening.
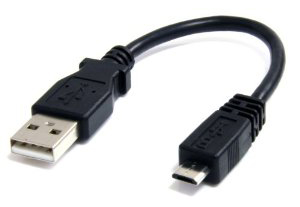
2. Use a USB cable (micro USB out of your device to normal USB into the computer). This is less likely to succeed because the laptop may not allow your device to transfer files.
The reason for this is that Google has moved away from the USB mass storage protocol (UMS), which was used until Android 2.3, to the MTP (Media Transfer Protocol). Any phone or tablet with Android 3.0 and above will use the MTP protocol.
Windows computers should be ready to accept files via MTP. But remember to allow your SD card to be mounted from the device side.
![]()
A Mac computer needs Android File Transfer installed on the computer.
MTP file transfer does not work on Linux systems out of the box. Ubuntuforums.org suggest some solutions3.
3. Use Bluetooth. Pair your device with the laptop, and transfer files. There are a number of free apps which can make this easier, for instance Bluetooth Auto Connect (for Android 3.0. and above) and Bluetooth File Transfer.
4. If the laptop has a wifi connection, use an app to transfer your files via a web browser. At the time of writing, the most recommended app is Airdroid. This needs to be downloaded and installed onto the host computer.
5. Upload your video files to the internet (the cloud) via a file hosting service such as Dropbox. Make sure the projector laptop has the Dropbox client software to be able to download your files. Download the videos onto the laptop. The problem with this method is that a reliable and fast wifi connection is needed for both upload and download, especially of HD videos.
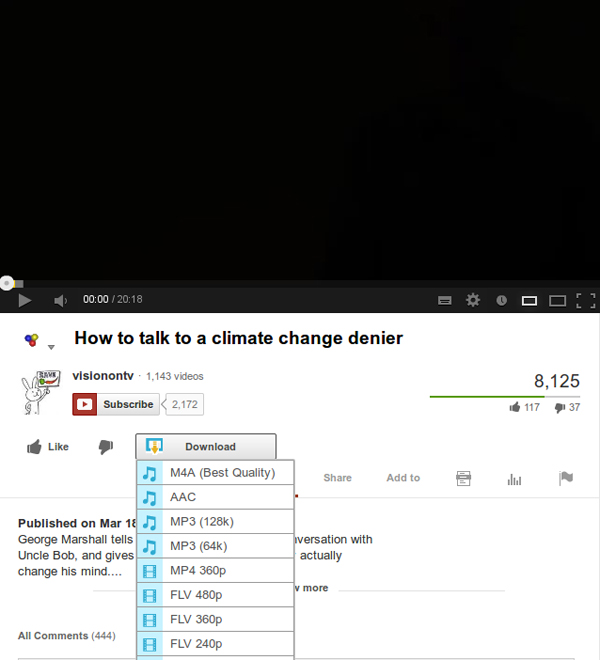
6. If your film is online, download a copy onto the laptop from there. Do not stream the film during the screening. This could stop and start because of buffering. Make sure you have a downloaded copy. The best way to download from YouTube is to install Easy Youtube Downloader on Firefox. This plug-in places a Download tab with a drop-down menu under each video. Select from here the best available MP4, not the FLV (Flash) version.
7. Where there is no wifi, you could try to tether your device to the laptop. This means that the laptop is sharing your 3G connection, and you could attempt to share files as above.
Using your own device as the player
|
|
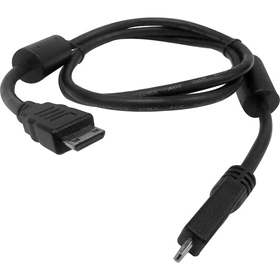 |

8. If the projector is a modern one, and has an HDMI jack, then you can plug in an HDMI cable from your device to the projector and play HD video from your phone or tablet. Depending on the projector, you may need Micro HDMI (Type D) to HDMI (Type A) or Micro HDMI to Mini HDMI (Type C). For audio, see (10) below.

9. For screening with an older projector, use a Micro HDMI to VGA adapter to convert your digital HDMI signal to composite analogue VGA. This does of course mean a loss in quality for the image. You will need a male to male VGA cable as well. This deals with the video part of the signal.
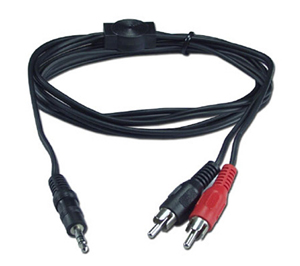
10. Audio comes out of the headphone socket of your device, either by 3.5mm plug to 2 RCAs (phono plugs) into an amp, or by plugging the (computer) speakers in directly.
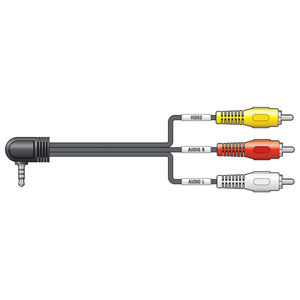
11. If there is no HDMI out on your device, you will need to take both video and audio out of the headphone jack. This requires splitting the video and audio via a 3-ring 3.5mm plug to 3 RCAs cable. The yellow RCA (phono) plug carries the video, and the white and red carry the audio
The video RCA then plugs into the projector, and the audio RCAs need extending to the sound system, or converting back into 3.5mm, depending on the system.
The “life-saver” screening accessory checklist
Here is a summary of what you need to carry with you to be prepared for any screening scenario. (The numbers refer to the list above). If you do not carry all of this kit, you run the risk of not being able to screen your videos:
 |
1. MicroSD to USB adapter. (If you have a Google Nexus phone or tablet, there is no SD card, so this is not needed.) |
 |
2. USB data cable (Micro USB to USB). |
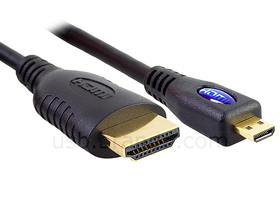 |
8a. Micro HDMI to HDMI cable. (If you have a simple smartphone with no HDMI output, this is not needed). |
| |
8b. Micro HDMI to Mini HDMI cable. (If you have a simple smartphone with no HDMI output, this is not needed). |
 |
9a. Micro HDMI to VGA adapter. (If you have a simple smartphone with no HDMI output, this is not needed). |
 |
9b. VGA cable. (If you have a simple smartphone with no HDMI output, this is not needed). |
 |
10. 2 x RCA Female adapter to 3.5mm Female Audio Stereo Plug Splitter |
 |
11a. 3-ring 3.5mm plug to 3 RCAs (yellow = video, red and white = audio) |
 |
11b. RCA female to female adapters. |
 |
11c. 2 RCA male to male extension cable.
|
 |
11d. 3.5mm male to 2 RCAs male cable. |
Pocket projectors - bringing your own screening kit
The most reliable way of putting on a screening is to have your own projector and speakers. However, no projectors that use bulbs can safely be carried in a backpack. For this you need a small device, called a Pico, or Micro, or Pocket projector. All Pico projectors use LED, which is much less breakable and more energy-efficient.
Plug-in pico projectors
Typical brightness for a Pico ranges from 10 to 200 lumens. This is considerably less than the brightness of a lamp-based "home cinema" projector. This means there is an inevitable trade-off between portability and brightness. There is a similar trade-off between image size and brightness. Pico projectors can only give a viewable image at a much smaller size than conventional projectors. You will need to reduce ambient light as much as possible. A small dark room is therefore best.
When buying a projector, you will see that its specifications give two resolutions, native and maximum. The native resolution is the actual maximum number of pixels displayed by the projector, while the maximum resolution is the most the projector can process to be displayed. So if you are shooting mainly Full HD (1920 x 1080), and you want to screen it uncompressed, you will need a projector which has 1920 x 1080 as maximum resolution.
It is to easy to google for the current top-rated pico projectors4.
Here is a comparison of two of the best-reviewed models as of January 2013:
|
|
 |
|
| Name
|
AAXA P4-X | FAVI-RioHD-LED-3 |
| Size/Weight
|
180gm | 1.25 kilos
|
| Max image size (diagonally)
|
250cm
|
380cm |
| Brightness
|
100 lumens
|
150 lumens
|
| Native resolution
|
800 x 480
|
800 x 600
|
| Maximum resolution
|
1280 x 768 (HD)
|
1920 x 1080 (Full HD)
|
| Battery
|
Yes - 75 mins max
|
No
|
| Estimated cost
|
220 euros
|
165 euros
|

If your priority is portability, small size and battery power, then you would choose a projector such as palm-sized AAXA P4-X. If your priority is image quality, the ability to project Full HD and price, then you would choose a projector such as the FAVI RioHD Led-3.
These are the basic criteria for you to select a projector closest to your needs.
Integrated pico projectors
There are currently two Android devices with
integrated projectors:
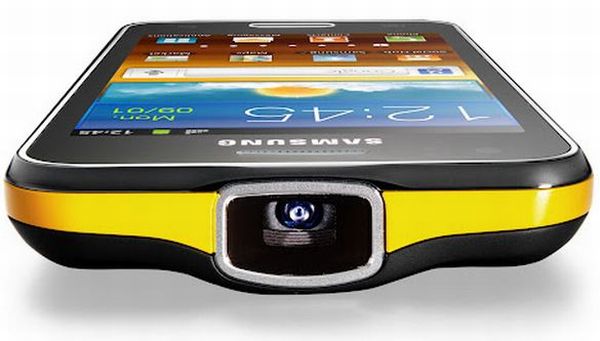
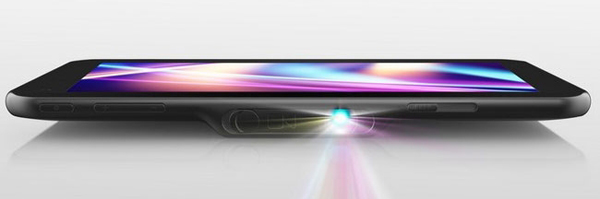
The Samsung Galaxy Beam has a pico projector on the top of the phone. It puts out only 15 lumens with an image of only 640 x 360 pixels, but could be useful for sharing footage with a handful of people in a dark space.
The SmartQ U7 tablet integrates a 35 lumen projector giving a 130 cm image at a resolution of 854 x 480. It has Jelly Bean 4.1 installed, and a fast processor.
Speakers
The speakers on projectors themselves are rarely loud enough for a screening.
For portability, the ideal set to carry are self-standing computer speakers, preferably small, which do not require a separate amp or sub-woofer.
Bigger speakers are generally better, but some small speakers are very good. Try them in the shop if possible, or go on recommendation.
There may already be a separate sound system where you are, and the cables and adapters listed above will be useful for plugging into that.
The Screen
Traditional screens are too cumbersome to carry. A flat, white wall is easiest to project onto, but not always available. To make a very effective screening surface, bring a clean white double bedsheet and some gaffer tape.