ARCHIVE.ORG
Using the CC Publisher
You can upload content to Archive.org using their 'CC Publisher' tool. Using this method the files can be of almost any format and size, and the process is quite straight forward.
Before you upload your file you will have to have first decided upon some information to include with the file. This information about your content, eg. Title, Subject, Author etc. This kind of information is called metadata. Many services that have video hosting require this metadata to be supplied. This information makes the archive more useful and searchable.
There are a few ways of uploading the video content and adding the metadata to Archive.org. We'll look at the CC Publisher. To do this you first need to register with archive.org and login.
Step 1 : Open ccPublisher
First open your installed ccPublisher, you should see a start screen like this :
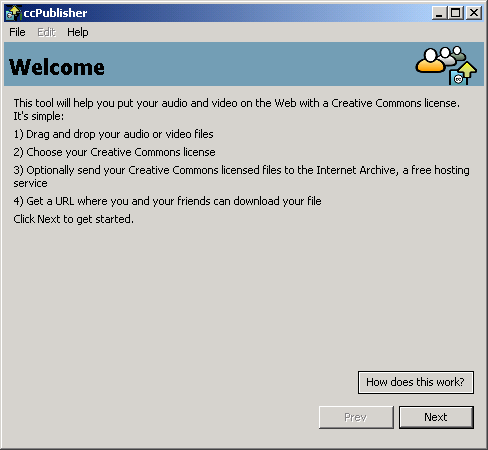
Simply put, this is the introduction screen. The above image is from the Windows version of ccPublisher but it should look almost the same in Linux and MacOSX. The steps are outlined in the interface for uploading content. It seems simple, and it pretty much is, except nothing new is ever simple, right?
So, in my installation of ccPublisher the "How does this work" button doesn't work. So there is nothing to do here really than progress by pushing Next
Step 2 : Select Your Files
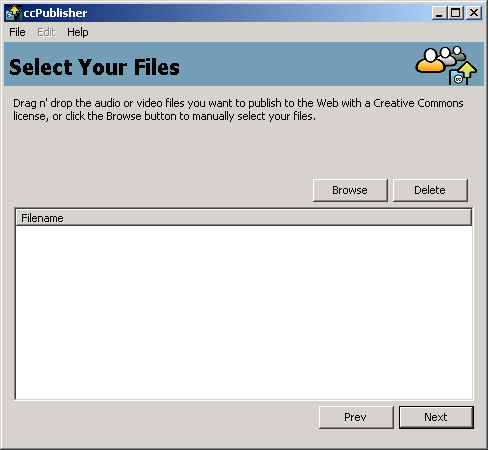
In the Windows version you can 'drag and drop' files from your computer onto this screen of ccPublisher. I would recommend if you machine seems a little slow that instead you click on 'Browse' which will open a window enabling you to search through your computer for the right file or files. You can add as many files as you wish. Its important to remember that you can only create one description and use one license for the content you upload each time. So if you upload 12 items at once they will all be put in the same place on the Internet Archive with the same title, description etc.
If you want to upload multiple files with different descriptions or different versions of the Creative Commons licenses then you should go through this entire process for each separate file or group of files.
When you add a file you should see it listed in the window like so :
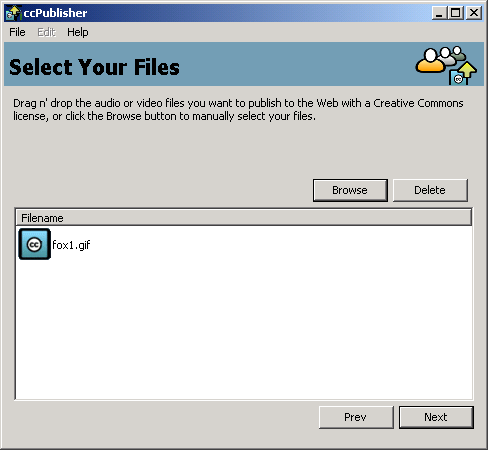
When you have selected all your files then press Next :
Step 3 : Add Information About Your Files
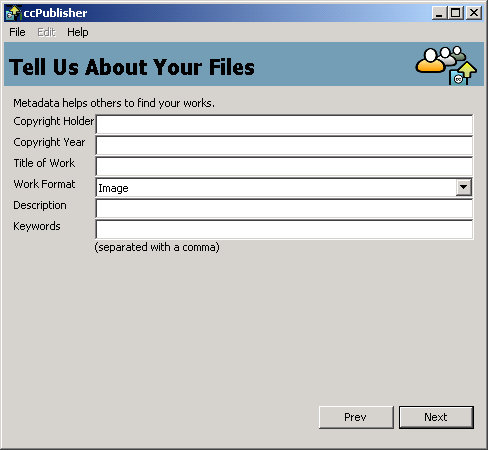
The information you add here gets added to the Internet Archive as 'metadata' which can be read by people wanting to find out about the content. The information is also used to help people find your material on the Internet Archive using the search function. The fields mean the following :
Copyright Holder
The copyright holder is the person who made the work or owns the copyright. Its important to remember that although Creative Commons is a more liberal approach to sharing content it does not avoid copyright, it merely gives you, the owner of the work, more control of who can use, modify, and re-use the content. So someoneowns the copyright for the work and you put that name in this field.
Copyright Year
The year the content was created.
Title of Work
Just the name of your work.
Work Format
A 'format' refers to what type content (or files) you are contributing as defined by the broad headings : Audio, Video, Image, Text, Interactive, Other. It might be that you have multiple different types of files involved with the same content. A video file might have, for example, text files used for subtitles and images used for cover art. Just choose the general category in this case.
Description
A description of what your content is. The cleaer you make this the more useful it is for people who are reading about your content for the first time.
Keywords
Keywords are the 'search terms' that will assist the Internet Archive in finding your content when users search the archive.You can put multiple terms here but make sure they are separated by a comma for each term.
When you have finished all the fields press Next
Step 4 : Choose A License
This screen might take a second to download as ccPublisher has to connect to the Internet Archives servers to find out the information about the latest available Creative Commons licenses.
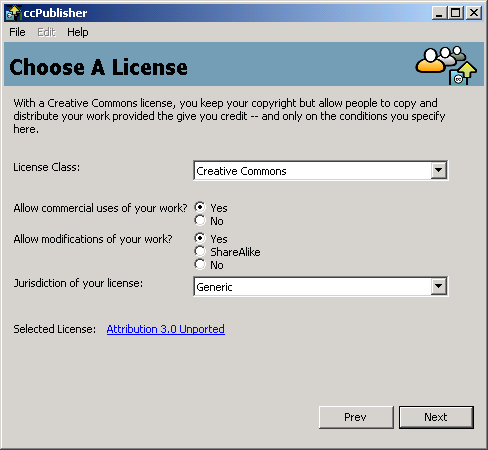
Generally speaking, content on the Internet Archive is made available by the copyright owner under Creative Commons licenses. Either you know exactly which license the content is already available under, or you get to choose the license using this screen. The choices are simple, at the the first drop down box 'License Class' you must first of all decide whether you wish to use Creative Commons, dedicate the content to the Public Domain (US law only), or use the Sampling License (only available for some countries).
With each choice ccPublisher will show you a link to the 'Selected License'. If you click on that link then your web browser will display the information online about that license.I suggest you change the license options a few times and follow the links to read about the licenses before selecting the one you prefer. When you are happy press Next
Step 5 : Select File Format
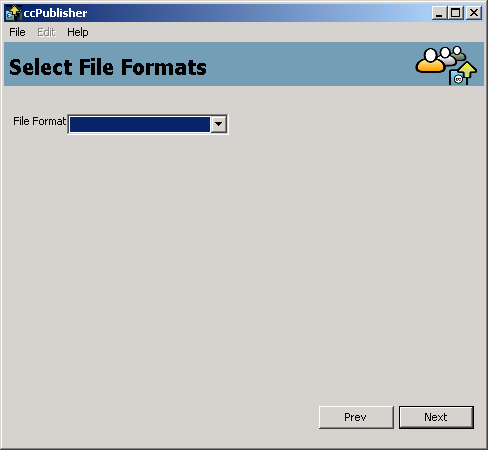
From the file format drop down menu choose the main type of file you are uploading and press Next.
Step 6 : Select Destination
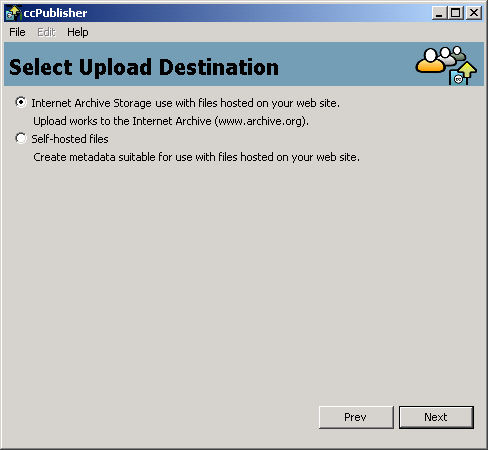
we wish to upload the content to the Internet Archive so we choose the top option. Press Next after you ahve selected this option.
Step 7 : Confirm Identifier
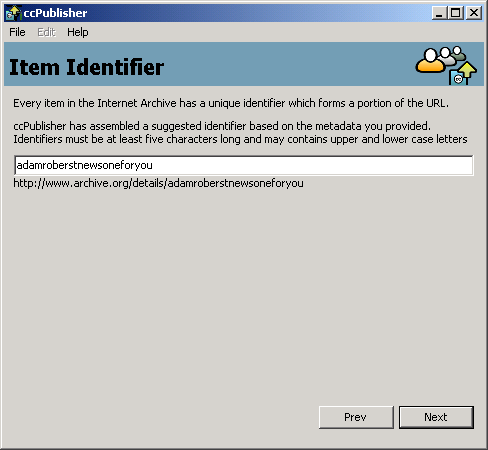
The Internet Archive gives each file (or group of files) a unique name. If another item in the archive already has the name you must try another one and hope that isn't used. The URL you will be given to access the content in the Internet Archive will use this identifier, so its a good idea to try and use something that reads well if you intend to send the link to the content to other people.
Please note that on Windows I often had this stage of the process come up with a notice telling me to press 'Next' but there was no next button and there was also some muddled text in the screen :
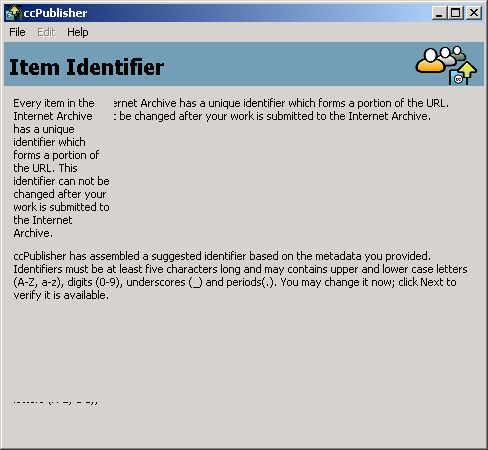
If you see this also then press the 'maximise' icon (the image of a square at the top right of the window) twice and you will see the window retrun to looking how it should. Press Next BUT be careful as the next screen is sometimes slow to load and whatever you do, don't press the button twice out of frustration.
Step 8 : Enter Account Details
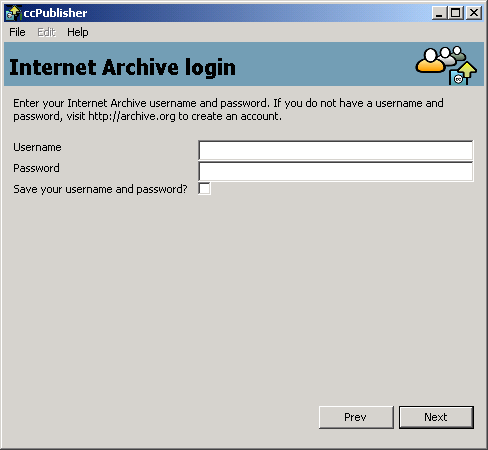
Here is where you enter your account details. Remember that your Internet Archive Username is notactually your username but the email address you used to register. When you have filled out these two fields press Next
Step 9 : Upload
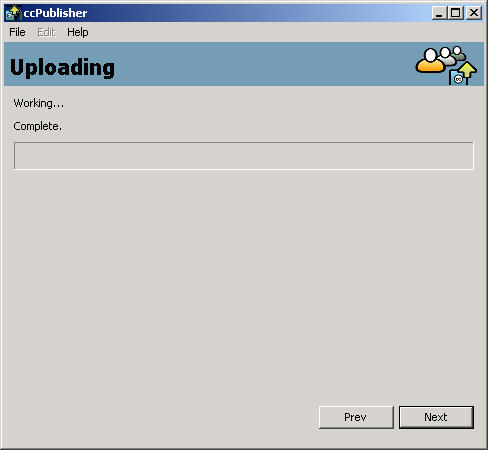
This stage may take a while and you should see a screen like this reporting the progress of the upload :
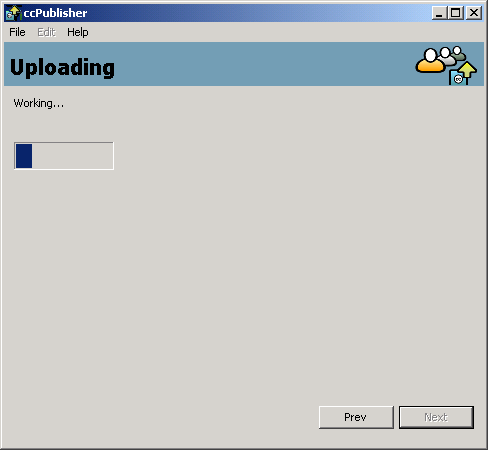
When the process is complete ccPublisher will (subtly) tell you:
Press Next
Step 10 : Check Link
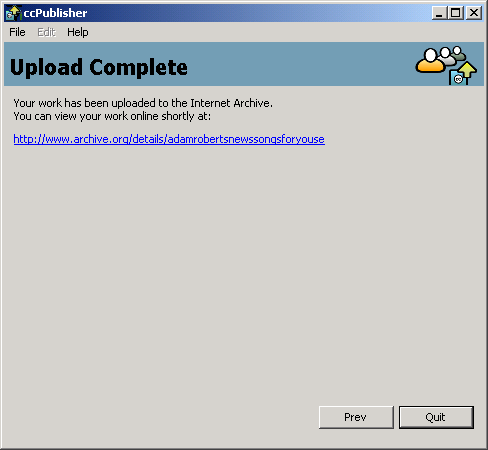
If all is well you will see something like the above. When you click on the link your browser will open the Internet Archive page with your content on it :
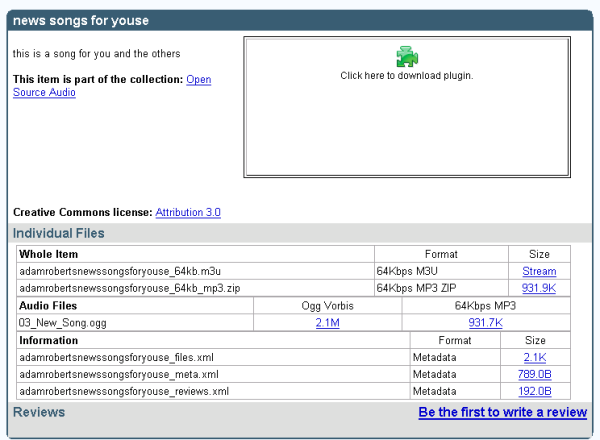
This is the permanent page for your content so you can send the URL out to whoever wants it.
