Icecast
Installing Icecast on Windows
Software name : Icecast
Homepage : http://www.icecast.org/
Software version used for this installation : 2.3.1
Operating System use for this installation :Windows 2000
Recommended Hardware : 300 Mhz
It is not too tricky to install Icecast on Windows. You can install it on your own computer and have your very own streaming server to experiment with, or you can install Icecast on a Windows Server.
Download the installer
The first thing to do is to visit the Icecast website and download the installer. So, point your browser at http://icecast.org/download/ and you will find the installer right at the top of the page:
If you click on the Windows Setup link the installer will start downloading. Download it to your Desktop or somewhere else you will be able to find it. Once the download is complete then you will see the installer file on your desktop, or in the folder you chose to save it to. It should look something like this:
![]()
Now double click on the icon:
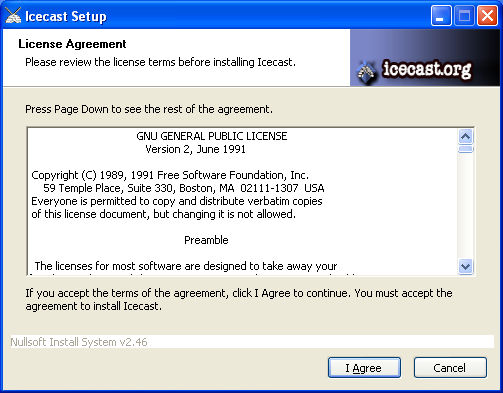
You should see the license screen, like on the screenshot above. If you like, you can read the license here or else just go right ahead by clicking I Agree to continue to the next step.
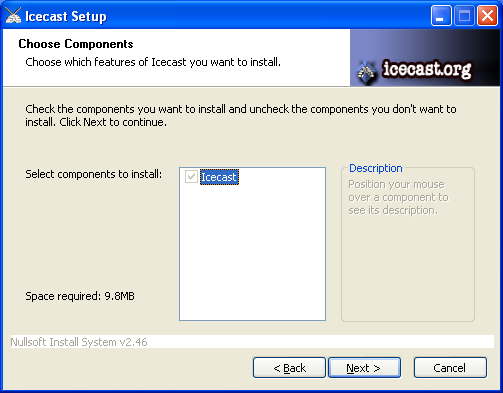
Here you can select the components you want to install, currently the only possibility is the core Icecast Server, so you can just skip to the next page by clicking Next as you can't change anything here.
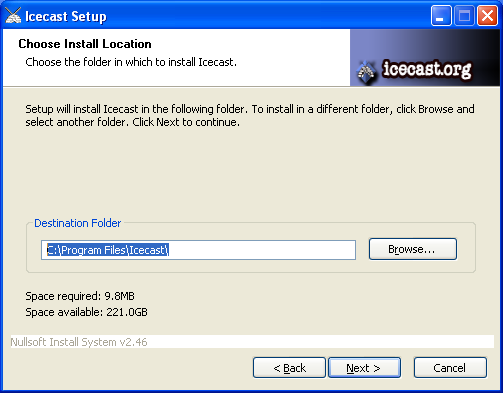
Ok, now we can save the program anywhere we like, you can change this by hitting the Browse…button and choosing another directory to save Icecast. For now we will stick with the defaults and press Next.
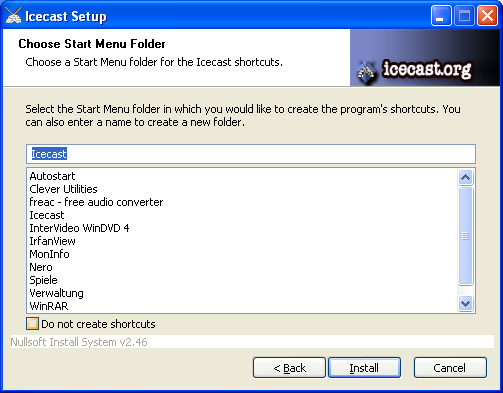
We can decide what the name of the software should be called in the Windows 'Start Menu' for quickly accessing Icecast. We will leave this setting at its default and click Install in order to start installing Icecast!
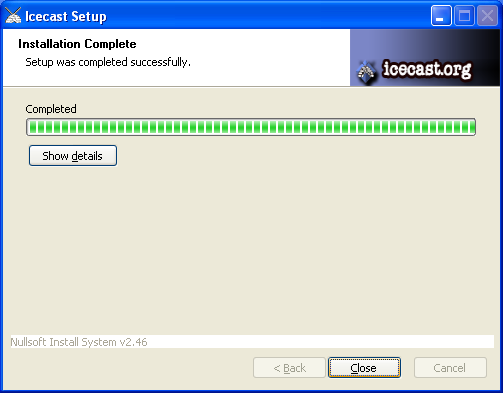
The progress bar will whiz across the screen and when the installation is completed you will be able to click the Close button.
This is pretty much the only real decision you have to make. A Windows Service means that you wish to install Icecast to run 'in the background'. This is known as a 'daemon' or as a 'service'. A server, like a streaming server, is usually a computer running streaming software (like Icecast) as services. If you have a server and this is your aim then leave the default checked, otherwise (if for example you want to experiment with Icecast on your Desktop or Laptop computer) unclick this option and press Finish
Running Icecast
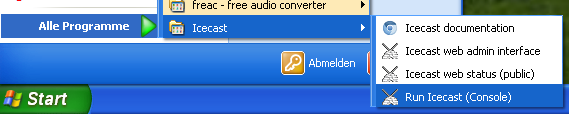
To start Icecast you can double click the handy option in the Start Menu:
and you should see something like this:
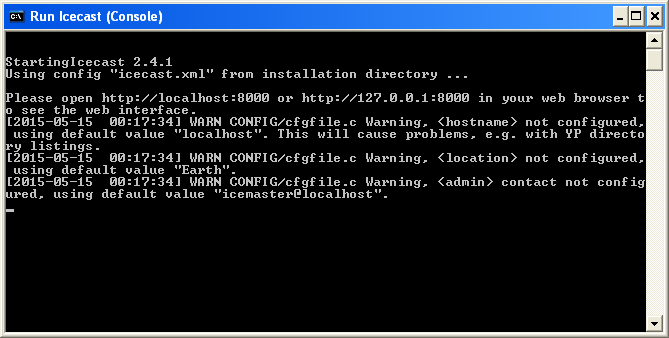
Note that there are a lot of warnings because we have not edited the config file yet, so you should shut it down by hitting Ctrl + C and confirming with Y and Enter.