A Look at Open Video
Tools for Creating Open Video Files
Now we can get our hands dirty and perhaps unearth some 'digital artifacts' by doing some video compression using encoding tools. The text is adapted from Mark Pilgrim's work released under a by-sa-3.0 licence and is online here - http://diveintohtml5.info/video.html
By the end of this task you should be able to:
- Convert a video file to another video file with an open container and / or codec
Tools you will need for this task:
- A large source video file
- Miro Video Converter - available for Mac & Windows
- Or FireFogg - Many platforms (available as a plug in for Firefox)

Encoding Ogg Video with Firefogg
Firefogg is an open source, GPL-licensed Firefox extension for encoding Ogg video. To use it, you’ll need to install Mozilla Firefox, then visit firefogg.org.
For more infomation on how to install Firefogg see http://diveintohtml5.info/video.html#firefogg
To use click on Make Web Video and follow the simple on screen instructions.

Select the file on your computer's hard drive to encode.

Select either Ogg or WebM video and then select the quality you want your target file to be.
Click on Encode and choose a location to save your target file.

When the encoding is completed your new video file should ready for your to test in the location you chose in the previous step.
Encoding Video with Miro Video Converter
There are many tools for encoding video, and there are many video encoding options that affect video quality. If you do not wish to take the time to understand anything about video encoding, this section is for you.
Miro Video Converter is an open source, GPL-licensed program for encoding video in multiple formats. Download it for Mac OS X or Windows. It supports all the output formats mentioned in this chapter. It offers no options beyond choosing a video file and choosing an output format. It can take virtually any video file as input, including DV video produced by consumer-level camcorders. It produces reasonable quality output from most videos. Due to its lack of options, if you are unhappy with the output, you have no recourse but to try another program.
To start, just launch the Miro Video Converter application.
Miro Video Converter main screen
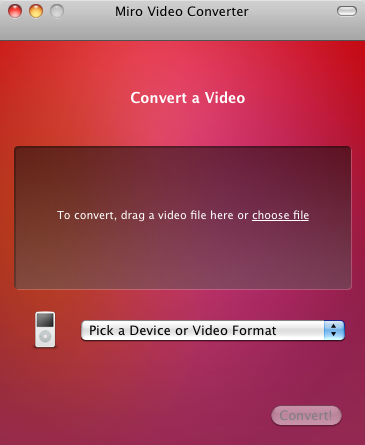
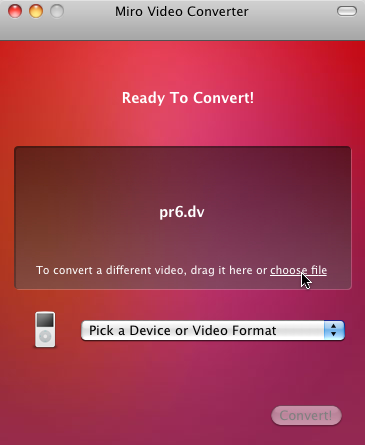
Click “Choose file” and select the source video you want to encode.
“Choose file”
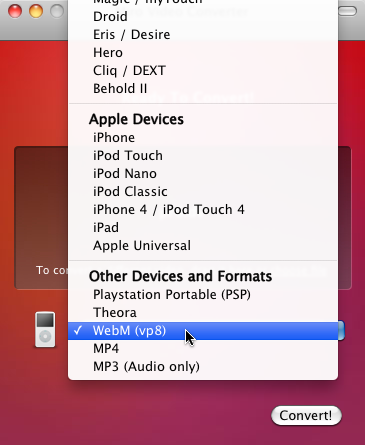
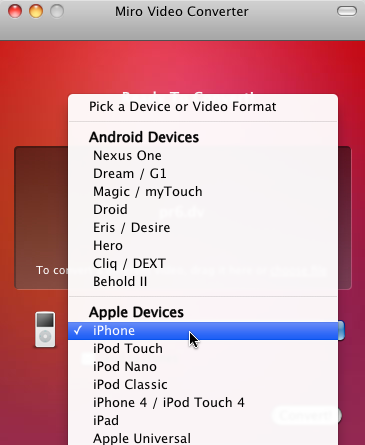
The “Pick a Device or Video Format” dropdown menu lists a variety of devices and formats. For the purposes of this chapter, we are only interested in three of them.
- WebM (vp8) is WebM video (VP8 video and Vorbis audio in a WebM container).
- Theora is Theora video and Vorbis audio in an Ogg container.
- iPhone is H.264 Baseline Profile video and AAC low-complexity audio in an MP4 container.
Select “WebM” first.
Choosing WebM output
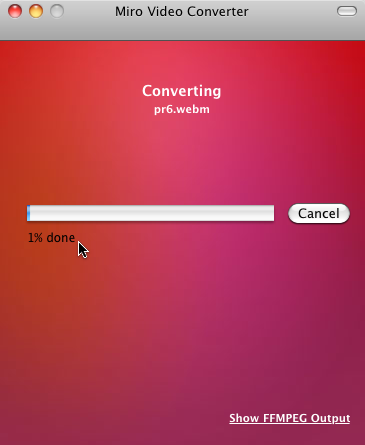
Click the “Convert” button and Miro Video Converter will immediately start encoding your video. The output file will be named SOURCEFILE.webm and will be saved in the same directory as the source video.
You’ll be staring at this screen
for a long time
Once the encoding is complete, you’ll be dumped back to the main screen. This time, select “Theora” from the Devices and Formats list.
Time for Theora
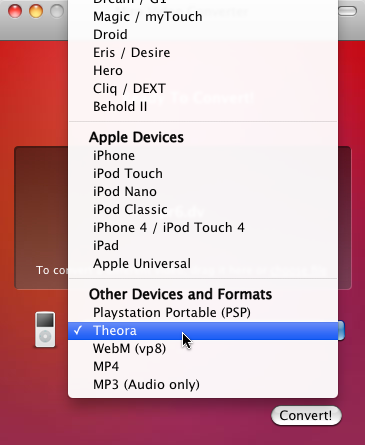
That’s it; press the “Convert” button again to encode your Theora video. The video will be named SOURCEFILE.theora.ogv and will be saved in the same directory as the source video.
Time for a cup of coffee
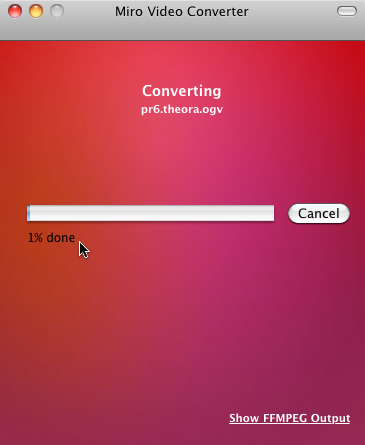
Finally, encode your iPhone-compatible H.264 video by selecting “iPhone” from the Devices and Formats list.
iPhone, not iPhone 4
For iPhone-compatible video, Miro Video Converter will give you an option to send the encoded file to your iTunes library. I have no opinion on whether you would want to do that, but it’s not necessary for publishing video on the web.
Don’t send to iTunes
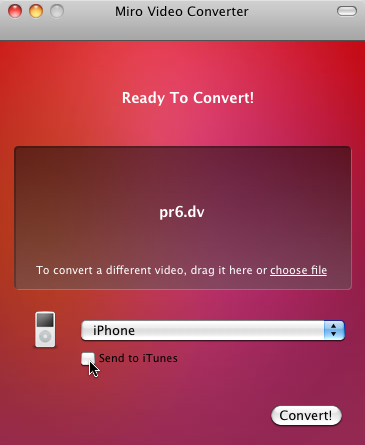
Press the magical “Convert” button and wait. The encoded file will be named SOURCENAME.iphone.mp4 and will be saved in the same directory as the source video.
Do some yoga or something
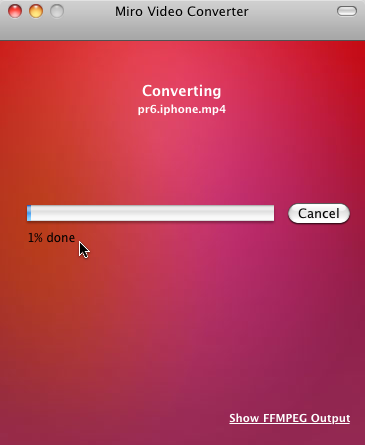
You should now have three video files alongside your original source video.
Task - Encode a video file to Ogg Theora or WebM
Download a video file from Engagemedia.org or Archive.org.
Re-encode it to an Ogg or WebM video using Firefog.
If your system supports it, install Miro Video Converter and follow the instructions above to encode to three kinds of files.
Post your questions or results in the comments.